In the realm of automotive customization and fine-line artistry, few tools carry the weight of…
Pinstriping 101: A Beginner’s Guide to Mastering Custom Car Pinstriping
Automotive pinstriping is a specialized form of decorative art that involves the application of very thin lines of paint, called pin stripes, to the exterior of vehicles. This craft is rooted in the pursuit of individuality, transforming a mass-produced machine into a personalized masterpiece. Unlike modern machine-generated vinyl graphics, hand-painted pinstriping offers a level of authenticity and human touch that remains unmatched. The subtle imperfections and the visible texture of the enamel paint provide a sophistication and enduring appeal that defines the “Kustom Kulture” movement.
For the aspiring artist, pinstriping is as much about patience and discipline as it is about creative expression. Mastering the steady pull of a brush requires an understanding of your tools, the chemistry of your paint, and the historical foundation of those who defined the medium.
A Chronological History of the Craft
The evolution of pinstriping is a narrative of rebellion and artistic innovation within the automotive community. To understand the technique, one must first respect the heritage of the masters.
The Early Influence: Pre-1950s
The origins of fine-line decoration can be traced back to the horse-drawn carriage era, where thin lines were used to accentuate the curves of wooden wheels and chassis. By the late 1920s, artists like Tommy “The Greek” Hrones in the Bay Area began adapting these techniques to the burgeoning automobile industry. Hrones is credited with introducing “spits”: the signature teardrop-shaped ends of pinstripes: that became a staple of custom work. During this time, pinstriping was a functional art form used primarily for commercial signage and basic vehicle detailing.
The Rise of Kustom Kulture: The 1950s and 60s
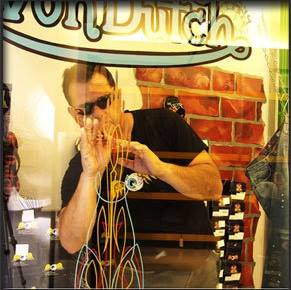
This era marked the transition of pinstriping from functional detailing to an iconic artistic movement. Kenneth Howard, better known as Von Dutch, revolutionized the craft by moving away from simple straight lines and toward intricate, symmetrical designs that often incorporated caricatures and surreal imagery. Von Dutch viewed the automobile as a canvas, famously charging $10 an hour: a significant sum at the time: to provide car owners with a unique identity.
Simultaneously, Ed “Big Daddy” Roth expanded the boundaries of the craft by merging pinstriping with the grotesque, cartoonish style of his “Rat Fink” character. Together, these artists established pinstriping as a central pillar of hot rod culture, emphasizing that a car’s soul was found in its hand-painted details. For more details on this era, visit our full history of pinstriping page.

The Modern Era: 1970s to Present
While the 1970s saw a rise in factory-applied adhesive tape pinstriping, the traditional craft experienced a resurgence among enthusiasts who valued manual skill. Today, pinstriping remains a thriving art form within the motorcycle and custom car communities. Traditional artists like Tony Pinstriper continue to use the same long-haired brushes and oil-based enamels popularized mid-century, preserving the authenticity of the hand-painted line in a digital age.
Essential Tools and Materials
Success in pinstriping begins with selecting the correct equipment. Using improper tools will lead to inconsistent line weights and poor paint adhesion.
Professional-Grade Brushes
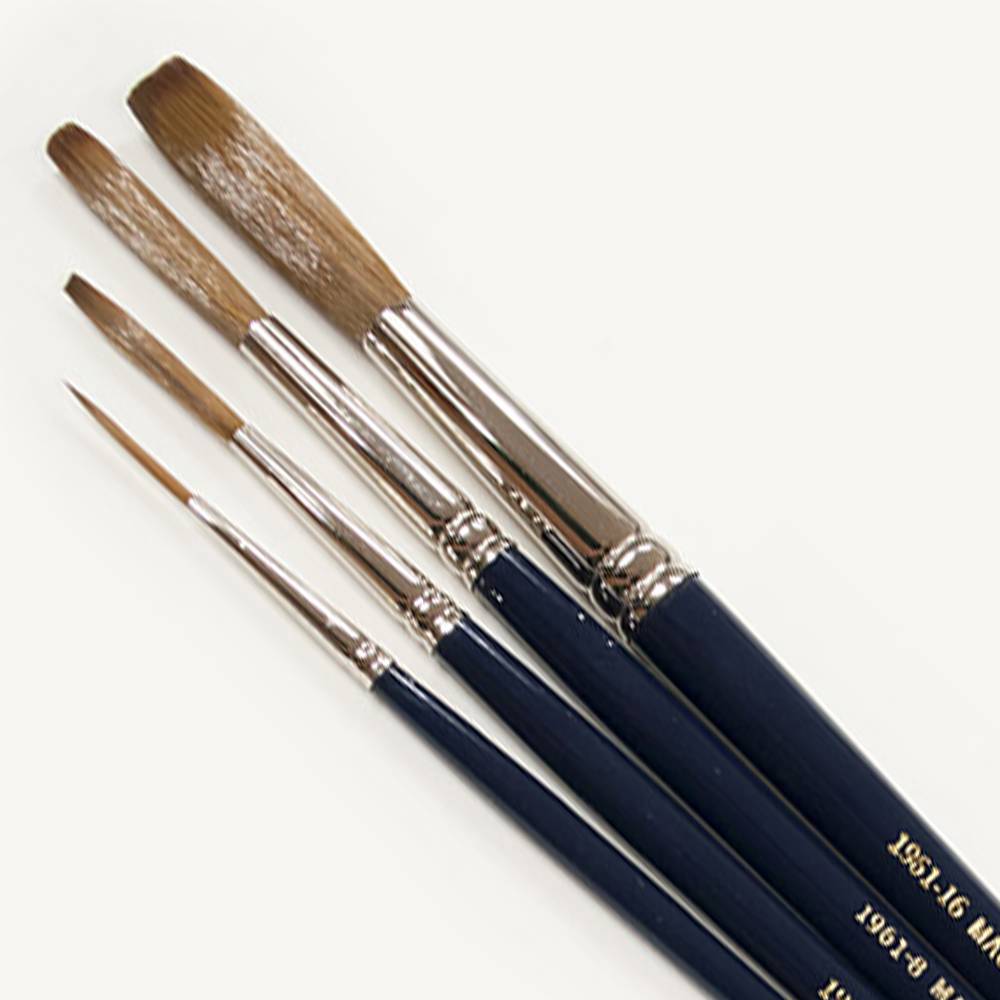
The brush is the most critical extension of the artist. Traditional pinstriping brushes are made from squirrel hair (often referred to as “camel hair”) because of its ability to hold a large reservoir of paint while maintaining a fine point.
- Mack Series 10 (Blue Wrap): This is the industry standard. It features a traditional design that allows for long, straight pulls. The “Blue Wrap” denotes a specific quality of thread used in the ferrule, favored for its balance and flexibility.
- Mack King 13: Designed by artist Todd Hanson, this brush is slightly shorter, making it an excellent entry-level choice for beginners who need more control over their strokes.
- Kafka Longliner: Unlike traditional brushes that require the artist to roll the handle between their fingers to navigate corners, the Kafka brush is designed to turn without “flare-out.” This simplifies the learning curve for intricate scrollwork.
Premium Enamel Paints
Traditional pinstriping requires high-quality enamel paint. These paints are formulated with a high pigment load and a slow drying time, allowing the artist to “pull” a line for several feet without the paint tacking up. Brands like 1 Shot or specialized pinstriping enamels provide the vibrant colors and durability required for automotive surfaces.
Ancillary Supplies
- Mineral Spirits: Used for thinning paint and cleaning brushes.
- Stabilo Pencils: Wax-based pencils used to sketch out guides that can be easily wiped away.
- Lint-Free Cloths: Critical for surface preparation and cleaning.
- Magazine Pages: Used as a disposable “pallet” for loading the brush.
Pro’s Gear Spotlight
A beginner can learn with basic essentials, but experienced stripers often keep a few specialized shop staples close at hand for layout work and lettering control.
Pinstriping stencil Tape
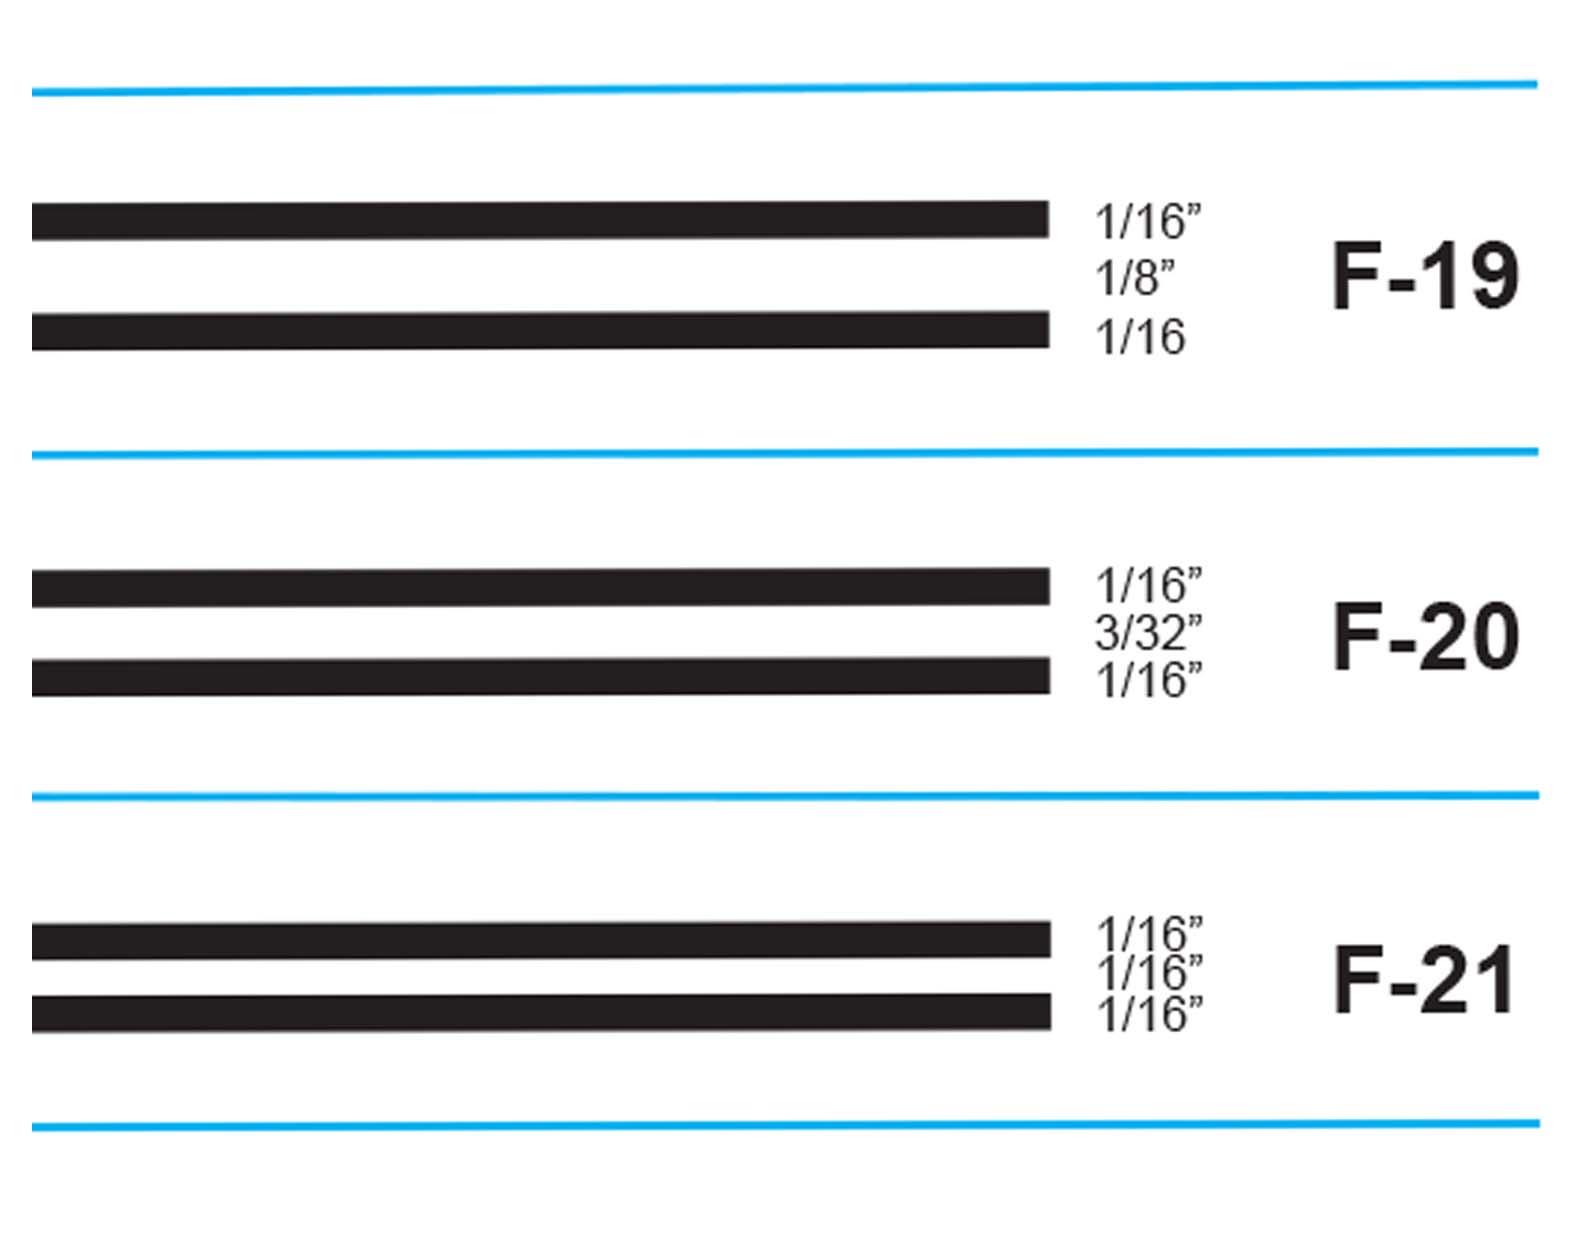
Pinstriping tape helps establish clean visual guides, maintain spacing, and support layout planning on complex panels and curves.
Lettering Quills
Lettering quills are valued for their paint-holding capacity and responsive tip, making them useful for script, ornament, and controlled decorative detail.
Surface Preparation Procedures
A pinstripe is only as durable as the surface beneath it. Follow these steps to ensure the paint bonds correctly to the vehicle.
- Clean the area. Wash the vehicle thoroughly to remove loose dirt and road grime.
- De-wax the surface. Use a wax and grease remover or rubbing alcohol. Any residual wax will cause the enamel paint to “fish-eye” or peel.
- Monitor the temperature. Perform all pinstriping in a controlled environment between 60°F and 80°F. If the surface is too hot, the paint will dry prematurely; if too cold, it will not flow smoothly.
- Mark your guides. Use a Stabilo pencil and a ruler to mark the start and end points of your design. For long straight lines, a piece of low-tack masking tape can serve as a visual guide.
Technical Execution: The “Pull”
The hallmark of a master pinstriper is the ability to pull a consistent, unwavering line. This process is highly technical and requires a specific physical posture.
Palleting the Brush
Before touching the vehicle, you must “pallet” the brush to distribute the paint evenly through the bristles and remove air pockets.
- Dip the brush halfway into the paint.
- Draw the brush across a magazine page in a flat, horizontal motion.
- Flip the brush and repeat.
- Continue this until the bristles are saturated but not dripping, and the brush maintains a sharp, chiseled edge.
Hand Positioning and Control
To achieve stability, do not attempt to “draw” with your wrist. Instead, use your entire arm to move the brush.
- Anchor your hand. Use your pinky and ring fingers as “outriggers” to glide along the surface of the car. This maintains a consistent distance between your hand and the panel.
- Maintain brush angle. Hold the brush at a 45-degree angle to the surface.
- Apply consistent pressure. The width of the line is determined by how hard you press. To maintain a uniform stripe, keep the pressure constant throughout the pull.
- Execute the pull. Move your hand, arm, and body together in one fluid motion. Stop only when the paint reservoir in the brush is depleted.
Developing Muscle Memory: Practice Drills
Precision is the result of repetition. Beginners should spend several hours practicing on scrap metal or glass before attempting to pinstripe a vehicle.
- Straight Lines: Practice pulling 12-inch lines that are perfectly parallel. Focus on maintaining the same width from start to finish.
- The “S” Curve: Practice gradual curves. Learn to rotate the brush handle slightly between your thumb and forefinger as you navigate the turn to keep the bristles aligned with the direction of the line.
- Teardrops: Practice the “spit” technique by starting a line with heavy pressure and gradually lifting the brush as you pull to create a tapering point.
Preservation and Finishing
Once the design is complete, the enamel paint requires significant time to cure.
- Avoid touching. The paint will be “tacky” for several hours. Do not attempt to clear-coat or wax over the design for at least 24 to 48 hours.
- Clean your tools. Submerge your brushes in mineral spirits immediately after use. Once clean, coat the bristles in brush oil to prevent them from drying out and losing their shape.
- Respect the imperfections. Hand-painted work is defined by the human element. Minor variations in line weight are a testament to the authenticity of the craft and should be embraced as a mark of custom quality.
Rep the Culture
Pinstriping has always extended beyond the panel and into the broader custom culture. Apparel and printed gear give artists and enthusiasts another way to carry that tradition into the shop, the show field, and everyday wear.
Abstract Nautical Tank
A lightweight option with bold custom styling, the Abstract Nautical Tank brings pinstriping attitude into warm-weather shop days and show season.
Square Body Pinstriping Tee
The Square Body Pinstriping Tee highlights the enduring appeal of truck culture and hand-painted line work in a wearable format.
Mastering pinstriping is a lifelong journey. By adhering to traditional techniques and utilizing professional-grade supplies, you contribute to the preservation of a storied artistic legacy. Whether you are customizing a helmet, a guitar, or a classic hot rod, the lines you pull carry the weight of decades of craftsmanship. All of the supplies discussed here, along with apparel that reflects the tradition, are available in the Pinstriper.com shop. For the latest updates on the custom art community and new product releases, check our news section regularly.
Comments (0)